Traditional Apple Crisp
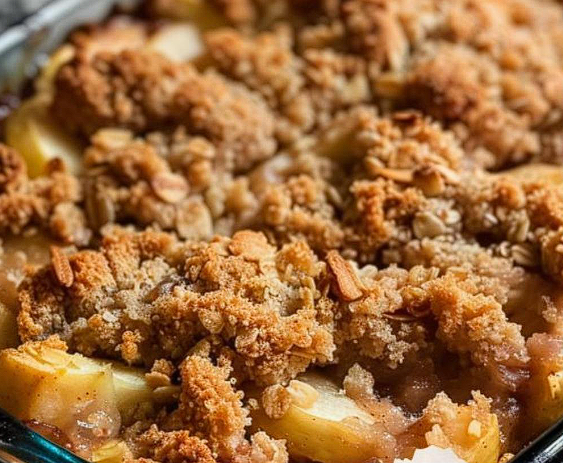
or a cozy dessert that feels like autumn in every bite, few things rival a traditional old-fashioned apple crisp. This beloved dessert captures the comforting flavors of the season with warm baked apples and a buttery, cinnamon-infused crumble topping. Easy to prepare and always satisfying, this recipe has remained a family favorite for decades. The tender apples and crisp topping create the perfect balance of texture and flavor, making it a dessert you’ll want to bake all season long.
Choosing the Right Apples for Apple Crisp
Selecting the proper apples makes all the difference in a delicious apple crisp. A mix of sweet Honeycrisp apples and tart Granny Smith apples works especially well because it creates a deeper, more balanced flavor. Softer varieties such as Red Delicious are not ideal since they tend to become mushy when baked. Slicing the apples thinly helps them turn soft and caramelized while pairing perfectly with the crunchy topping.
How to Prepare a Traditional Apple Crisp
| Ingredient | Amount |
|---|---|
| Apples (thinly sliced) | About 4 cups |
| Light brown sugar (apple filling) | ½ cup |
| Ground cinnamon (apple filling) | ½ teaspoon |
| Oat flour or all-purpose flour (topping) | ½ cup |
| Old-fashioned rolled oats (topping) | ¼ cup |
| Light brown sugar (topping) | 1/3 cup |
| Ground cinnamon (topping) | ½ teaspoon |
| Ground nutmeg | ½ teaspoon |
| Kosher salt | ¼ teaspoon |
| Melted butter | ¼ cup |
Instructions
- Preheat the oven to 375°F and lightly grease an 8-, 9-, or 10-inch baking dish.
- Place the sliced apples into the baking dish. Sprinkle with ¼ cup brown sugar and ½ teaspoon cinnamon, then gently toss until evenly coated.
- In another bowl, stir together the flour, oats, brown sugar, cinnamon, nutmeg, and salt.
- Pour in the melted butter and combine using a fork or your fingertips until the mixture becomes crumbly.
- Scatter the topping evenly across the apples.
- Bake for 30–32 minutes, or until the apples are soft and the topping turns golden brown.
- Serve warm with whipped cream or a scoop of vanilla ice cream.
Helpful Tip
If the butter feels too solid to mix smoothly with the dry ingredients, warm the mixture in the microwave for about 10–15 seconds. Using oat flour instead of all-purpose flour is an easy way to make the dessert gluten-free while still keeping the same delicious texture.